
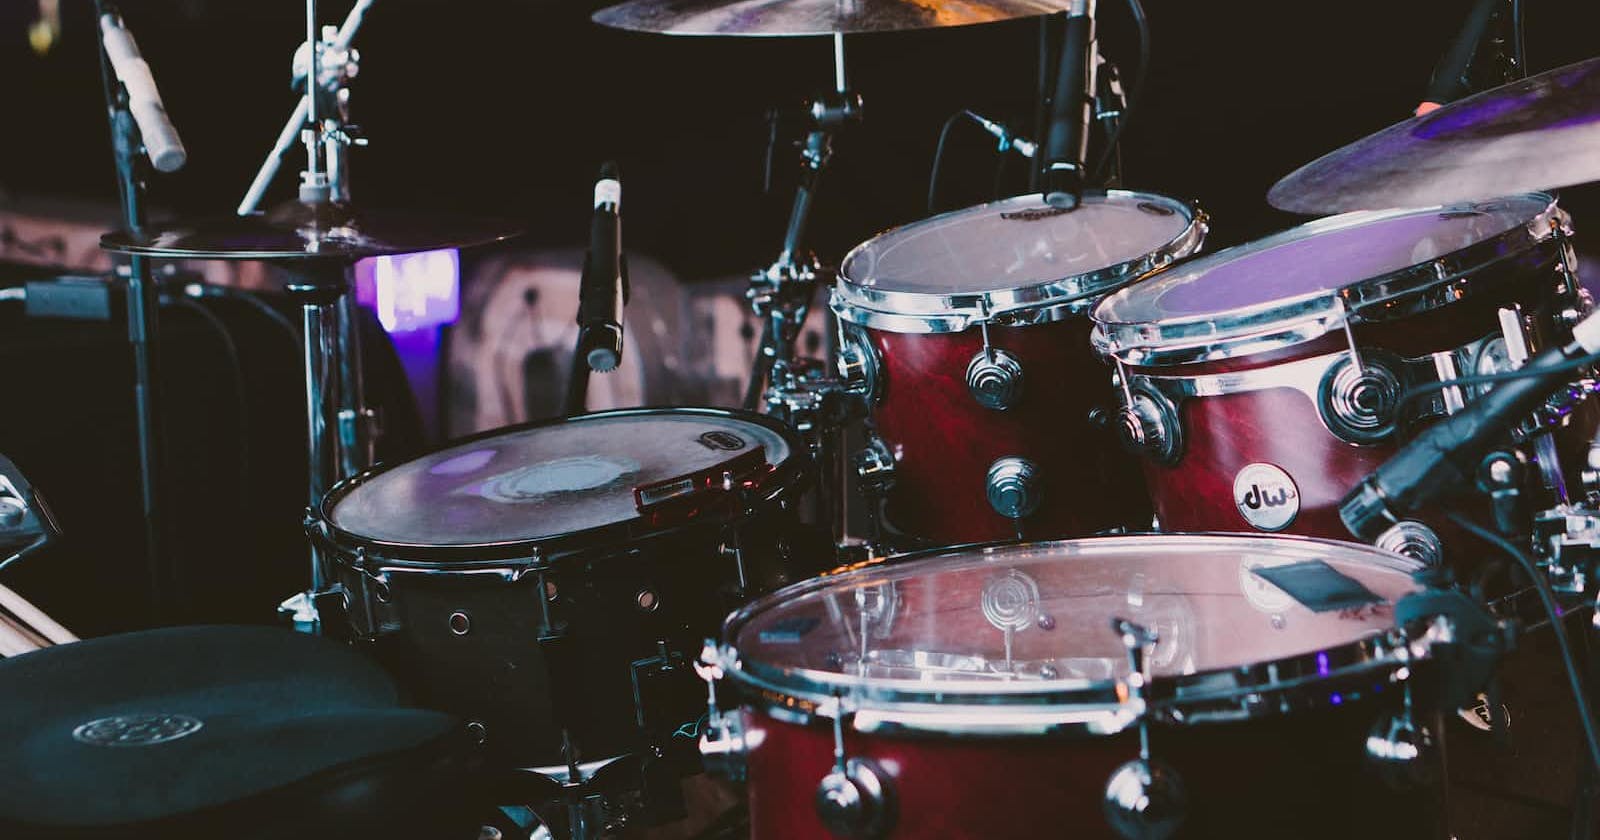

Photo by Gabriel Barletta on Unsplash
Build a functional drumkit app with Javascript
Build a drum kit web app with javascript in four easy steps!

Hello and welcome! 🤩🤩🤩
We are back for another javascript project!
Today's project is one that is very peculiar to me because I have terrorized my house members with my terrible drumming skills 🤣🤣🤣.
It is not my fault I created something cool, and it is really helping me.
For this project, I will be linking here the HTML file, and CSS file.
To make this web app feel as close to a drumkit as possible, I will be providing the links to get the sounds and the images from my GitHub repo.
Here is a LINK to my own web version in case you want to try your hands on it first
Let's get to it!!
Today, we will be building a virtual drumkit. Yuup. We will be building our own web version of a drum set, with proper pictorial and sound descriptions.
Step 1
When you check in the HTML file, you will see that we have seven buttons, with the class "drum."
var length = document.getElementsByClassName("drum").length;
We used the getElementsByClass DOM(element) selector to target all the elements that have the drum class. This returns the elements as an array type. We are able to use the array method .length to tap into the length of the array.
Step 2
We will be creating a function that enables us to add specific sounds to each piece of our drum set. Our function comes with a key parameter which we will be discussing more as we progress.
We will be using a switch statement for this.
function playSound(key) {
    switch (key) {
        case "w":
            var audio = new Audio('sounds/tom-1.mp3');
            audio.play();
            break;
        case "a":
            var audio = new Audio('sounds/tom-2.mp3');
            audio.play();
            break;
        case "s":
            var audio = new Audio('sounds/tom-3.mp3');
            audio.play();
            break;
        case "d" :
            var audio = new Audio('sounds/tom-4.mp3');
            audio.play();
            break;
        case "j":
            var audio = new Audio('sounds/crash.mp3');
            audio.play();
            break;
        case "k":
            var audio = new Audio('sounds/snare.mp3');
            audio.play();
            break;
        case "l":
            var audio = new Audio('sounds/kick-bass.mp3');
            audio.play();
            break;
        default:
            var audio = new Audio('sounds/crash.mp3');
            audio.play();
            break;
    }
}
We used a switch statement because there are a lot of conditions to be met. In our HTML file, we see that each of our buttons has a value that corresponds with each alphabet in our different cases. The alphabets in the cases all represent different keys on our computer/laptop keyboard.
- You might not understand this now till we move a bit further down our building, but stay with me. *
We are simply asking the computer to check if the key pressed on our laptop/computer keyboard corresponds to the alphabet-value of our HMTL buttons.
In our different cases, we are asking the computer that upon verification of matching alphabets, it should assign a sound to the specific button that is triggered. We are able to achieve this with the javascript new Audio constructor function.
Step 3
Having written out Step1 and Step2, we need a way to actually tap into the buttons either by a mouse-click or by a keyboard-press. We will be accounting for these two scenarios.
Scenario 1 (Mouse-click)
for (var i = 0; i < length; i++) {
    document.querySelectorAll("button")[i].addEventListener("click", function() {
        var buttonInnerHTML = this.innerHTML;
        playSound(buttonInnerHTML);
        //buttonAnimation(buttonInnerHTML);
    });
}
Remember that by using the getElementsByClass, we created an array-type object, such that we were able to tap into its length with our length variable. We are using a for loop to iterate through all the items in our array. We want that with every iteration, an event listener to be added to our document. The event we want to be listening for is a mouse-click on any of our buttons, with the syntax for mouse-clicks being .addEventListener("click", function(), such that in "the event" that this event happens, we want to call our playSound function, and also the buttonAnimation function and have them take the variable buttonInnerHTML as a parameter so that the functions will execute when there is a mouse click on any one of the buttons. The buttonAnimation function is currently commented out because we haven't built the function yet. The variable buttonInnerHTML captures the alphabet-value for each of our buttons. The this keyword is there to target each element we are selecting individually.
Scenario 2 (Keypad press)
for (var i = 0; i < length; i++) {
    document.querySelectorAll("button")[i].addEventListener("keydown", function(event) {
        playSound(event.key);
        //buttonAnimation(event.key);
    })
    }
We are capturing the event that a keyboard key is pressed. Keypad event listeners follow the sequence .addEventListener("keydown", function(event). Our function has a parameter event to get into the key press. If we decide to console.log(event), we will see that when a keypad is pressed a lot takes place, and the computer takes record of a lot of things. One such thing is the key telling it which key on the keyboard was pressed. It is this key that was passed as a parameter to the playSound function. We are passing this key as a parameter to our playSound and buttonAnimation functions such that the functions carry out when a key on the keyboard is pressed and it corresponds to the alphabet-values we have in our button elements.
Step 4
Our very final function is the buttonAnimation function we have been commenting out. 😅😅
function buttonAnimation(currentKey) {

  var activeButton = document.querySelector("." + currentKey);

  activeButton.classList.add("pressed");

  setTimeout(function() {
    activeButton.classList.remove("pressed");
  }, 100);
}
*What this function is doing is that it is adding some CSS animations to our buttons to provide some sort of visual cue for the button(s) we have pressed. We are tapping into our buttons via their classes and adding a pre-typed CSS style to them. The variable activeButton captures each button by its specific classes (that is, by the class names that are alphabets). Remember that for each of our scenarios above, our buttonAnimation function is being passed a parameter that captures exactly which button is being triggered/activated. When the target button is noted, we use the .classList.add to add the CSS style that we need. *
*Because we do not want this style to be a permanent part of our buttons, such that it always shows that we clicked it, we need to set a setTimeout method that takes a function that allows us to remove and add the class pressed after a set time. *
DON'T FORGET TO UNCOMMENT YOUR buttonAnimation FUNCTION WHEN YOU ARE DONE BUILDING IT.
A complete showing of our javascript can be found Here.
Alright!!!! 💃🏾💃🏾💃🏾💃🏾
That is it for another easy-to-do javascript project to add to your portfolio.
Thank you for sticking with me to this point.