
👌Setting up React Router v6 in your React app
Dynamic page rendering with React


Are you tired of clunky, multi-page applications? Say hello to dynamic, single-page masterpieces with the React Router library. With React Router v6, things are about to get even better. This innovative update brings a component-based approach that aligns perfectly with React's philosophy, making it easier than ever to define routes, nested routes, and route transitions. Follow this guide to learn how to set up React Router v6 in your React app. Get ready to take your navigation experience to the next level.
Setting up a React application
You must set up a React application to get started with React Router and add dynamic page routing to your development experience.
Step 1
Create a directory from your terminal or through your GUI where you want your React app to be located.
On a terminal:
mkdir React-app
Step 2
Write into the new folder you created.
On a terminal:
cd React-app
Step 3
Using create-react-app, let us initialize a React application. There are other ways to initialize a React application that you can find here.
On your terminal:
npx create-react-app myApp
After your app has been installed, you will find a message like this on your terminal.
Please note that you will not find this exact message as the file names are different.

Add React Router to your application
Step 1
Write into the React app you just initialized.
cd myApp
Step 2
Install React Router
On the terminal (make sure you are in the directory of your new app--myApp):
npm install react-router-dom
Starting your React app
Finally, on your terminal:
npm start
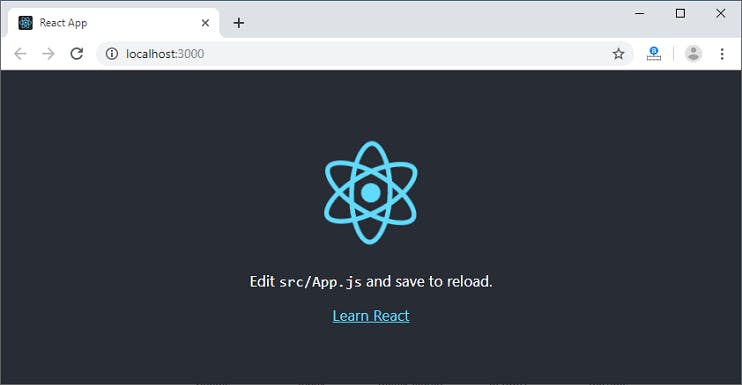
This will spin up your React app in your browser on the local host 3000. You get something like this
Setting up React Router in your application
Step 1
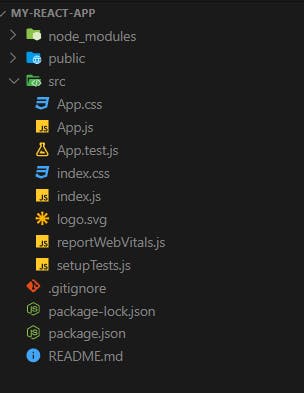
Open the directory of your app in VS Code. Your directory should look like this when opened in VS Code
Step 2
In App.js, we will be importing from the react-router-dom module that we just installed.
import { createBrowserRouter, RouterProvider} from 'react-router-dom';
Importing this will enable us to create a path for our routes.
Still in App.js,
import { createBrowserRouter, RouterProvider} from 'react-router-dom';

const router = createBrowserRouter([]) //Created a path for our individual routes

function App() {

  return (
    <RouterProvider router={router} /> //wrapped our component(s) in the React router provider.
  );
}
Add routes
To properly use React router, our React app ought to have at least two pages/components that we will route between.
Step 1
We will create two components that will be routed to each other. PageOne will route to PageTwo.
To create the components, left-click on the src folder and select create new file. This will be called
PageOne.jsx
Do the same for PageTwo.jsx
In the PageOne component:
export default function PageOne() {
  return(
    <div>
      <button>Take me to page 2!</button>
    </div> )}
PageTwo.jsx:
export default function PageTwo() {
  return(
   <div>
    <h1> Hello! This is page 2! </h1>
   </div>)}
Step 2
Now that we have created our two components, we need to go back to the PageOne.jsx component, to link it to PageTwo.jsx.
We will be doing this by importing a property of react-router-dom named Link.
Having imported Link, it will be wrapped around the button element.
Link takes a to attribute that specifies where the element is linking to.
import { Link } from "react-router-dom";

export default function PageOne() {
  return(
    <div>
      <Link to={'/pageTwo'}><button>Take me to page 2!</button></Link>
    </div> )}
Step 3
The final step in this process is to go back to App.js and add this new route that was just created.
import { createBrowserRouter, RouterProvider} from 'react-router-dom';

const router = createBrowserRouter([
  {
    path: 'pageTwo',
    element: <PageTwo />
  }
]) //added a path for our route

function App() {

  return (
    <RouterProvider router={router} /> //wrapped our component(s) in the React router provider.
  );
}
And with that, when the button in PageOne.jsx is clicked, it takes us straight to PageTwo.jsx.
Note that as many routes as required for your React app can be created and added to the path. router is an array, and therefore each route should be separated by a comma.
Conclusion
By implementing React Router v6 in your React app, you'll be able to create a sleek and effective navigation system that will enhance the user experience. The simplified API and component-based methodology of React Router v6 complement the fundamental principles of React development, setting you up for success. With the knowledge gained from this guide, you'll be prepared to install, define routes, and navigate between views using the most current version of React Router. As you delve deeper into the more advanced features and possibilities, you'll be fully equipped to build dynamic and engrossing single-page applications that will captivate your users.